
Old Fashioned Canning Green Beans
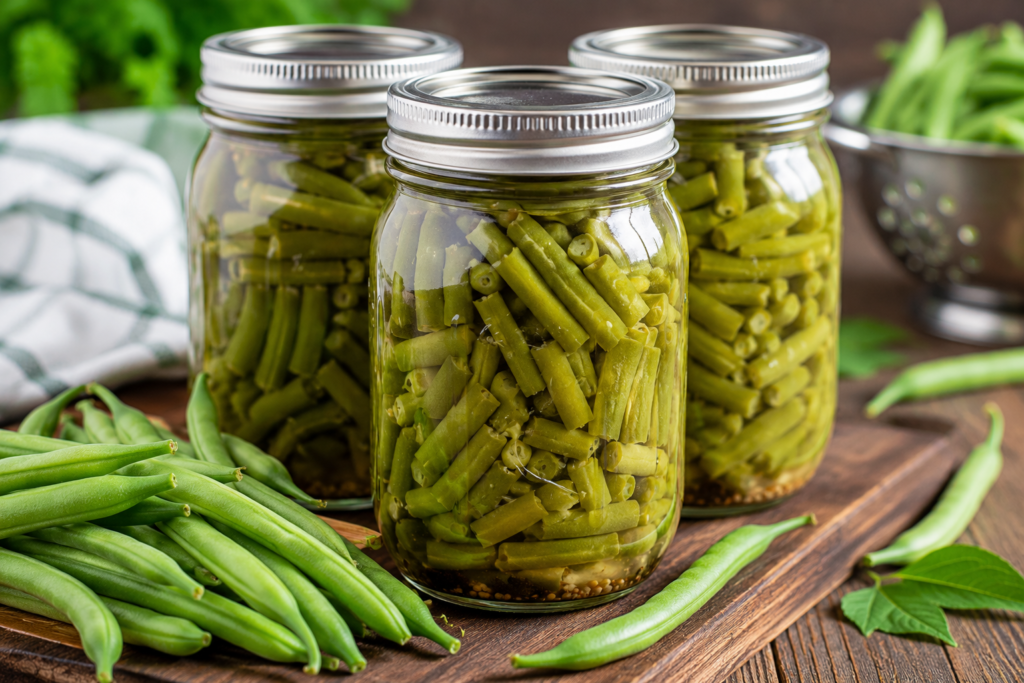
The Best Guide to Canning Green Beans at Home
Learning how to can green beans is one of the best ways to preserve the fresh flavor of your summer garden all year long. Whether you’re harvesting from your backyard or stocking up at the farmers market, pressure canning green beans is the safest and most reliable method for long-term storage.
This beginner-friendly guide walks you through every step of the process, from preparing fresh beans to safely sealing jars. Once canned, you’ll have delicious home-canned green beans ready for soups, casseroles, side dishes, and quick weeknight meals.
Why You’ll Love This Canning Green Beans Recipe
- Perfect for preserving garden green beans
- Easy step-by-step instructions for beginners
- Safe USDA-approved pressure canning method
- Long shelf life
- Great for meal prep
- Saves freezer space
- Budget-friendly food preservation
- Fresh garden flavor all year
Ingredients
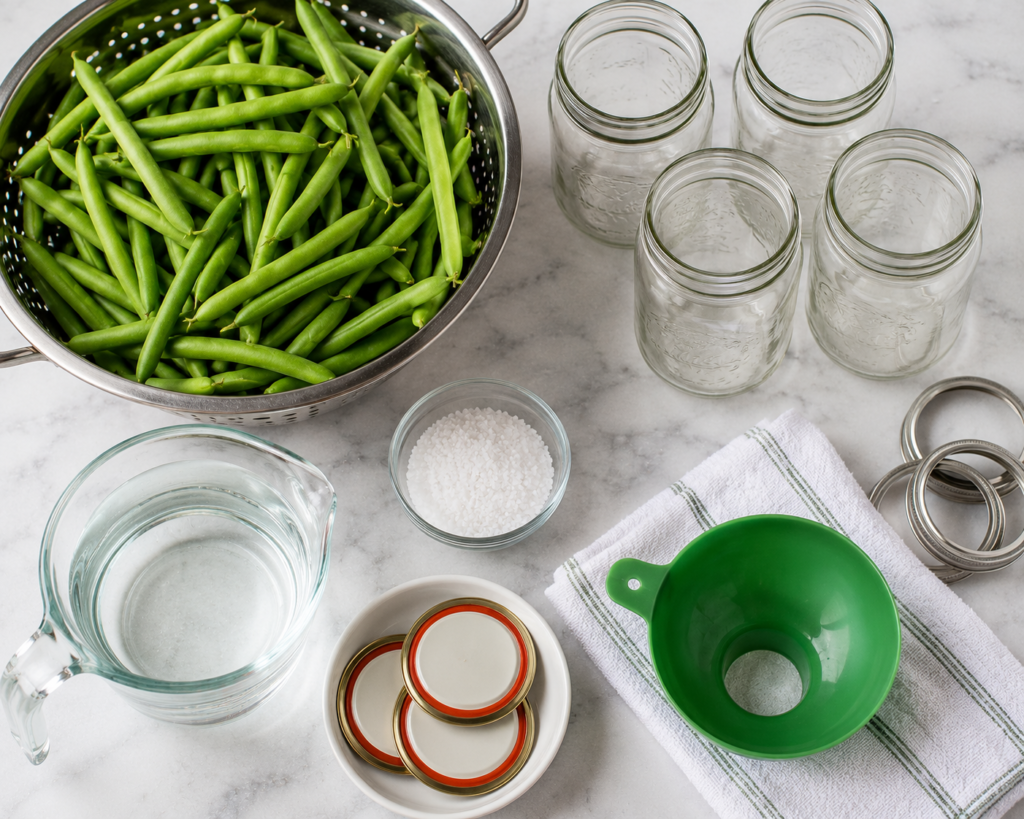
- 8–10 pounds fresh green beans
- Water
- 8 teaspoons canning salt (optional, 1 teaspoon per quart)
- Ice water (for washing)
How to Can Green Beans
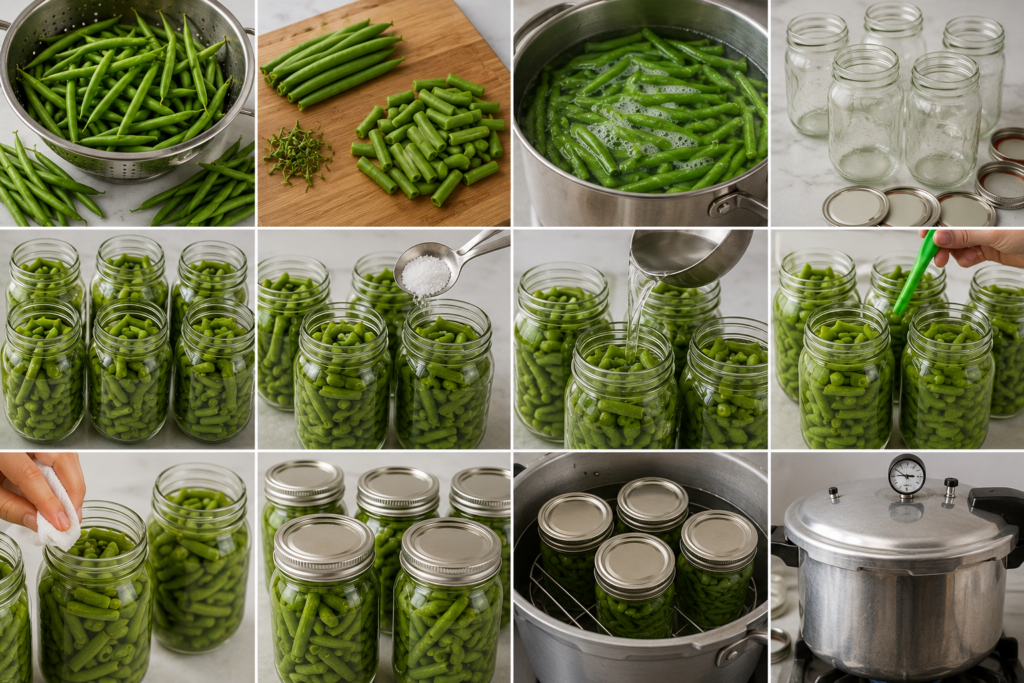
Step 1: Prepare the Green Beans
Wash the green beans thoroughly under cold running water. Trim both ends and remove any damaged beans. Cut the beans into 1 to 2-inch pieces, or leave them whole if preferred.
Step 2: Prepare the Jars
Wash jars, lids, and bands with hot soapy water. Keep the jars hot until ready to fill.
Step 3: Pack the Beans
Pack the prepared green beans tightly into hot jars, leaving 1 inch of headspace.
Step 4: Add Salt (Optional)
Add:
- 1 teaspoon canning salt per quart jar
- ½ teaspoon per pint jar
Salt is optional and used mainly for flavor.
Step 5: Add Boiling Water
Pour boiling water over the beans, maintaining 1 inch of headspace.
Step 6: Remove Air Bubbles
Slide a bubble remover around the inside of the jar. Add more boiling water if needed to maintain the proper headspace.
Step 7: Wipe and Seal
Wipe the jar rims with a clean damp cloth. Place the lids on the jars and screw the bands on until fingertip tight.
Step 8: Pressure Can
Place the jars in the pressure canner according to the manufacturer’s instructions.
Process:
Pint Jars
- 20 minutes
Quart Jars
- 25 minutes
Pressure:
- 10 PSI (weighted gauge canner)
- 11 PSI (dial gauge canner)
Adjust pressure for higher elevations according to your canner’s manual.
Step 9: Cool
Allow the pressure canner to return to zero pressure naturally. Carefully remove the jars and place them on a towel. Let cool undisturbed for 12–24 hours.
Step 10: Check the Seals
Press the center of each lid. Properly sealed lids will not flex. Remove the bands, label the jars, and store in a cool, dark place.
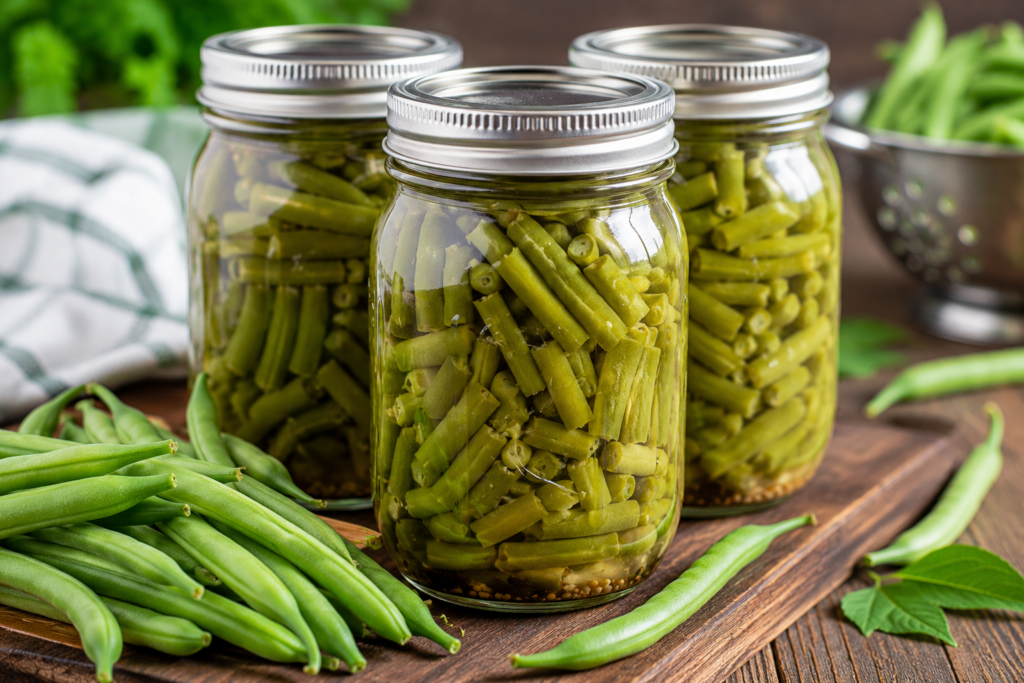
Tips for Successful Green Bean Canning
- Always use a pressure canner—green beans are a low-acid food and are not safe for water bath canning.
- Use fresh, crisp beans for the best quality.
- Leave exactly 1 inch of headspace.
- Do not overtighten the jar bands.
- Allow the canner to depressurize naturally.
- Label jars with the canning date.
Variations
French Style Green Beans
Slice the beans lengthwise before canning.
Whole Green Beans
Leave the beans whole if they fit comfortably in the jars.
Garlic Green Beans
Add one peeled garlic clove to each jar for extra flavor.
Spicy Green Beans
Add a small dried chili pepper or red pepper flakes before processing.
Herb Green Beans
Add dill, thyme, or oregano after opening the jar when preparing the beans for serving rather than before canning.
FAQs
Can you water bath can green beans?
No. Green beans are a low-acid vegetable and must be processed in a pressure canner for safe home preservation.
Do I have to add salt?
No. Canning salt is optional and is added for flavor rather than preservation.
How long do canned green beans last?
Properly sealed jars maintain their best quality for 12–18 months when stored in a cool, dark place.
Can I can whole green beans?
Yes. Whole beans work well as long as they fit inside the jars while maintaining proper headspace.
Why are my green beans floating?
Some floating is normal and usually results from trapped air. It does not affect safety if the jars sealed properly.
Can I reuse canning lids?
No. Always use new lids for a safe seal. Bands can be reused if they are clean and rust-free.
What pressure should I use?
Most recipes use 10 PSI for weighted-gauge canners and 11 PSI for dial-gauge canners, with adjustments for altitude.
How do I know if a jar sealed?
The center of the lid should be slightly concave and should not pop when pressed.
Final Thoughts
Canning green beans is one of the easiest and most rewarding ways to preserve your harvest. With the proper pressure canning method, you’ll enjoy safe, flavorful home-canned green beans throughout the year. Whether you’re new to home canning or an experienced preserver, this simple guide makes it easy to stock your pantry with fresh, delicious vegetables that are ready whenever you need them.
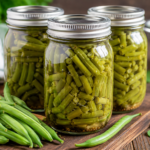
Old Fashioned Canning Green Beans
Ingredients
- 8 –10 pounds fresh green beans
- Boiling water
- 8 teaspoons canning salt optional, 1 teaspoon per quart
- Ice water for washing
Instructions
- Wash the green beans thoroughly under cold running water. Trim both ends and remove any damaged beans. Cut into 1 to 2-inch pieces, or leave whole if preferred.
- Wash Mason jars, lids, and bands in hot soapy water. Keep jars hot until ready to fill.
- Pack the prepared green beans tightly into the hot jars, leaving 1 inch headspace.
- Add 1 teaspoon canning salt to each quart jar (or ½ teaspoon per pint), if using.
- Pour boiling water over the beans, maintaining 1 inch headspace.
- Remove air bubbles using a bubble remover or plastic spatula. Add more boiling water if necessary.
- Wipe the jar rims with a clean damp cloth. Place the lids on the jars and tighten the bands until fingertip tight.
- Place the jars into the prepared pressure canner according to the manufacturer’s instructions.
- Process:
- Pint Jars: 20 minutes
- Quart Jars: 25 minutes
- Use:
- 10 PSI for weighted-gauge canners
- 11 PSI for dial-gauge canners
- Adjust for altitude if necessary.
- Allow the canner to cool naturally until pressure reaches zero before opening.
- Remove jars and let cool undisturbed for 12–24 hours.
- Check the seals, remove the screw bands, label the jars, and store in a cool, dark pantry.
Notes
- Green beans are a low-acid food and must always be processed in a pressure canner. Do not use a water bath canner.
- Salt is optional and is added only for flavor.
- Leave exactly 1 inch headspace for proper sealing.
- Use only fresh, crisp green beans for the best quality.
- Label jars with the canning date.
- Discard any jar that fails to seal.
Nutrition (Per 1 Cup)
- Calories: 35 kcal
- Carbohydrates: 8g
- Protein: 2g
- Fat: 0g
- Saturated Fat: 0g
- Cholesterol: 0mg
- Sodium: 8mg (without added salt)
- Potassium: 210mg
- Fiber: 3g
- Sugar: 3g
- Vitamin A: 690 IU
- Vitamin C: 12mg
- Calcium: 40mg
- Iron: 1mg