
Homemade Raspberry Jam Recipe
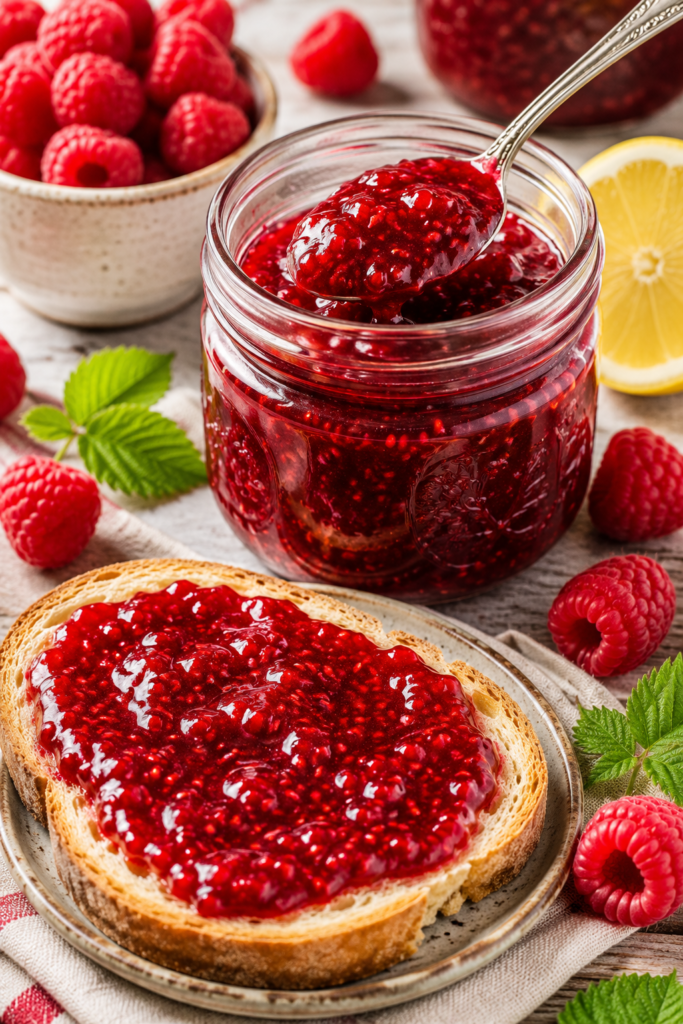
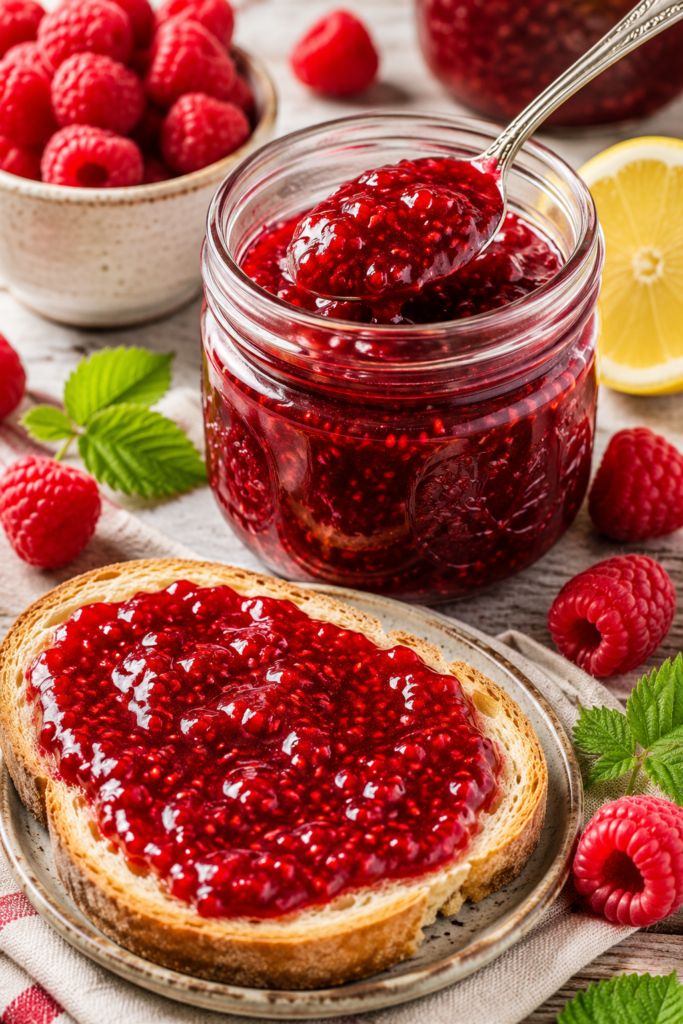
This homemade Raspberry Jam Recipe is bursting with sweet, tangy berry flavor and comes together with just a few simple ingredients. Whether you’re using fresh-picked summer raspberries or frozen berries from your freezer, this easy jam is thick, glossy, and perfect for spreading on toast, biscuits, pancakes, waffles, or swirling into yogurt and desserts.
Making raspberry jam at home is easier than you might think. With no artificial preservatives and rich homemade flavor, this recipe is a wonderful way to preserve fresh berries and enjoy them year-round.
Why You’ll Love This Raspberry Jam
- Made with only 3 simple ingredients
- Bright, fresh raspberry flavor
- Easy beginner-friendly recipe
- No pectin required
- Perfect for canning or refrigerating
- Delicious on breakfast favorites and desserts
- Great way to preserve fresh raspberries
- Ready in about 30 minutes
Ingredients
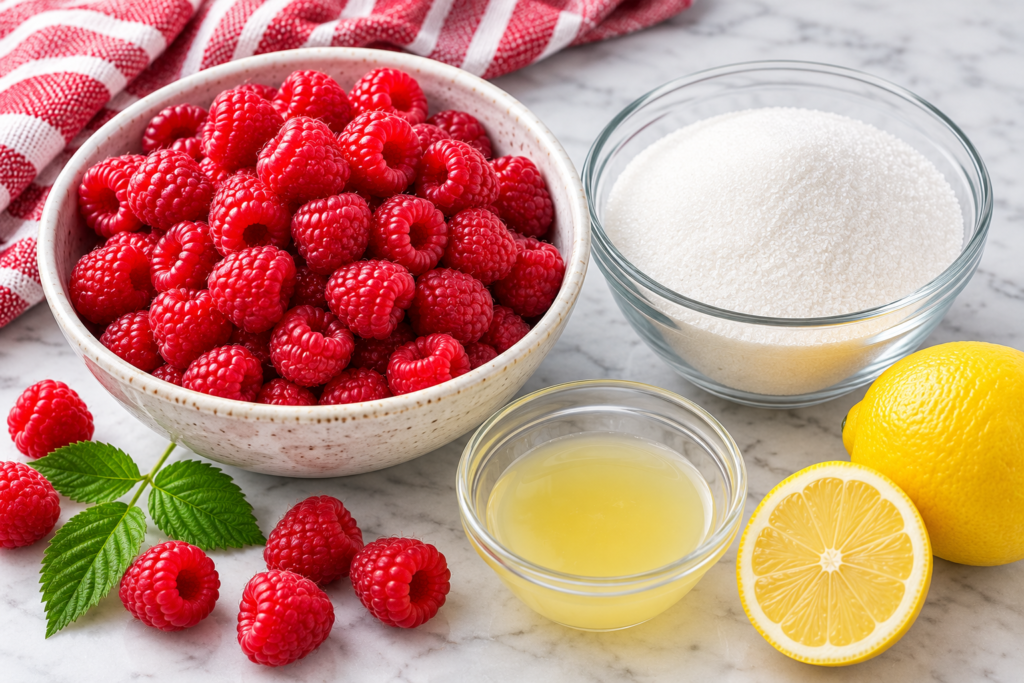
- 4 cups fresh raspberries (or frozen, thawed)
- 3 cups granulated sugar
- 2 tablespoons fresh lemon juice
Optional
- 1 teaspoon lemon zest
- ½ teaspoon vanilla extract
How to Make Raspberry Jam
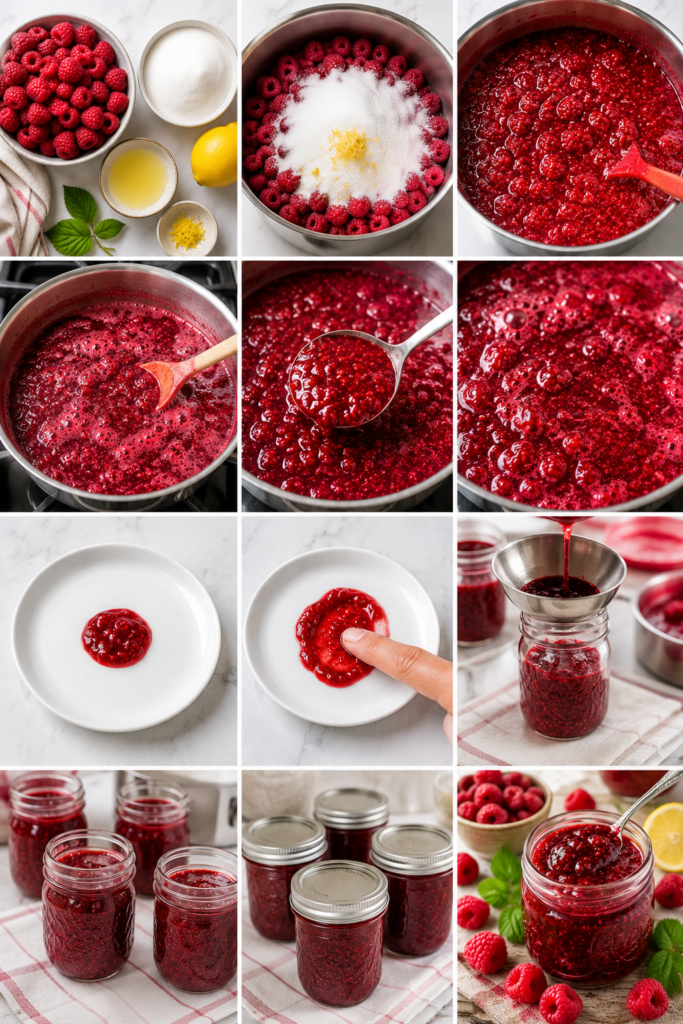
Step 1: Prepare the Berries
Rinse the raspberries gently and remove any stems or leaves.
If using frozen raspberries, thaw and drain any excess liquid.
Step 2: Combine Ingredients
Place the raspberries, sugar, and lemon juice into a large heavy-bottomed saucepan.
Stir gently until the sugar begins to dissolve.
Step 3: Cook the Jam
Bring the mixture to a rolling boil over medium-high heat.
Reduce slightly to maintain a steady boil and stir frequently to prevent sticking.
Cook for 20–25 minutes, skimming off any foam from the surface.
Step 4: Check for Doneness
Place a small spoonful of jam on a chilled plate.
Let it sit for 30 seconds, then gently push it with your finger.
If it wrinkles and doesn’t run, the jam is ready.
If not, continue cooking for another 2–3 minutes and test again.
Step 5: Fill the Jars
Carefully ladle the hot jam into clean sterilized jars, leaving about ¼ inch of headspace.
Seal immediately with clean lids.
Step 6: Cool
Allow the jars to cool completely before storing.
The jam will continue to thicken as it cools.
Tips for the Best Raspberry Jam
- Use ripe, flavorful raspberries.
- Stir frequently to prevent scorching.
- Avoid overcooking, which can make the jam too thick.
- A wide saucepan helps the jam cook evenly.
- Sterilize jars properly if planning to can the jam.
Variations
Seedless Raspberry Jam
Press the cooked berries through a fine-mesh sieve before returning the puree to the pan.
Low Sugar Raspberry Jam
Reduce the sugar and use a low-sugar pectin according to package directions.
Raspberry Vanilla Jam
Add vanilla extract during the final minute of cooking.
Raspberry Lemon Jam
Increase the lemon zest for a brighter citrus flavor.
Mixed Berry Jam
Combine raspberries with strawberries, blueberries, or blackberries.
Honey Raspberry Jam
Replace part of the sugar with honey for a naturally sweet flavor.
Ways to Use Raspberry Jam
- Toast
- English muffins
- Biscuits
- Scones
- Pancakes
- Waffles
- Cheesecake topping
- Yogurt
- Ice cream
- Thumbprint cookies
- Cake filling
- Peanut butter sandwiches
Storage
Store unopened jars in a cool, dark place for up to 1 year if properly canned.
Once opened, refrigerate and use within 3 weeks.
Freezing
Freeze raspberry jam in freezer-safe containers for up to 12 months.
Leave about ½ inch of space for expansion.
Frequently Asked Questions
Can I use frozen raspberries?
Yes! Frozen raspberries work just as well as fresh. Thaw them before cooking.
Do I need pectin?
No. Raspberries naturally contain enough pectin when combined with lemon juice to help the jam set.
How do I know when the jam is done?
Use the cold plate wrinkle test. If the jam wrinkles when pushed, it’s ready.
Why is my jam too runny?
It may need a few more minutes of cooking or additional cooling time to fully set.
Can I reduce the sugar?
Yes, but for a proper set you’ll need a low-sugar pectin if reducing it significantly.
Final Thoughts
This homemade Raspberry Jam Recipe is rich, fruity, and incredibly easy to make. With its vibrant color, sweet-tart flavor, and smooth spreadable texture, it’s a pantry staple you’ll reach for again and again. Whether you’re preserving summer berries or making a thoughtful homemade gift, this easy raspberry jam is sure to become one of your favorite recipes.
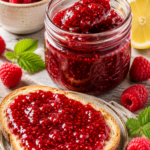
Homemade Raspberry Jam Recipe
Ingredients
- 4 cups fresh raspberries or frozen, thawed
- 3 cups granulated sugar
- 2 tablespoons fresh lemon juice
- Optional
- 1 teaspoon lemon zest
- ½ teaspoon vanilla extract
Instructions
- Wash the raspberries gently and remove any stems or leaves. If using frozen raspberries, thaw them completely.
- Add the raspberries, sugar, and lemon juice to a large saucepan. Stir gently until the sugar begins dissolving.
- Bring the mixture to a rolling boil over medium-high heat, stirring frequently.
- Reduce to a steady boil and cook for 20–25 minutes, stirring often and skimming off any foam that forms.
- To test if the jam is ready, place a spoonful on a chilled plate. Wait 30 seconds, then push it with your finger. If it wrinkles, the jam has reached the proper consistency.
- Remove the saucepan from the heat and stir in the vanilla extract, if using.
- Carefully ladle the hot jam into sterilized jars, leaving ¼-inch headspace.
- Wipe the jar rims clean, seal with lids, and allow the jars to cool completely before storing.
Notes
- Fresh, ripe raspberries produce the best flavor.
- Stir frequently to prevent scorching.
- Do not overcook or the jam may become too thick.
- For a smoother, seedless jam, strain the cooked berries before filling the jars.
- The jam will continue to thicken as it cools.
Nutrition (Per Tablespoon)
- Calories: 45 kcal
- Carbohydrates: 12g
- Protein: 0g
- Fat: 0g
- Saturated Fat: 0g
- Sodium: 0mg
- Fiber: 1g
- Sugar: 11g
- Vitamin C: 4mg
- Calcium: 2mg
- Iron: 0.2mg