
3 Ingredient No-Bake Hershey’s Pie
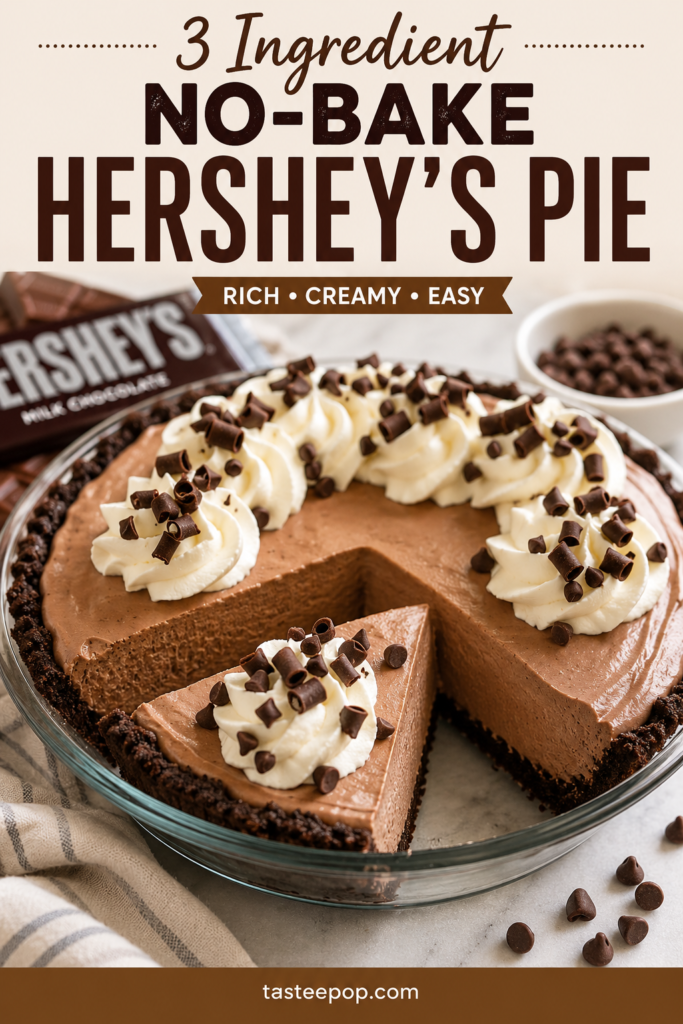
If you’re looking for a rich, creamy chocolate dessert that comes together in minutes, this 3 Ingredient No-Bake Hershey’s Pie is the perfect choice. With only three simple ingredients and no oven required, it’s an easy dessert for holidays, birthdays, potlucks, or whenever a chocolate craving strikes. The silky chocolate filling pairs perfectly with a crunchy chocolate cookie crust for an irresistible treat.
Why You’ll Love This Recipe
- Only 3 simple ingredients.
- No baking required.
- Ready with just a few minutes of prep.
- Rich, creamy chocolate flavor.
- Perfect make-ahead dessert.
- Great for beginners.
- Ideal for parties, family gatherings, and holidays.
Ingredients
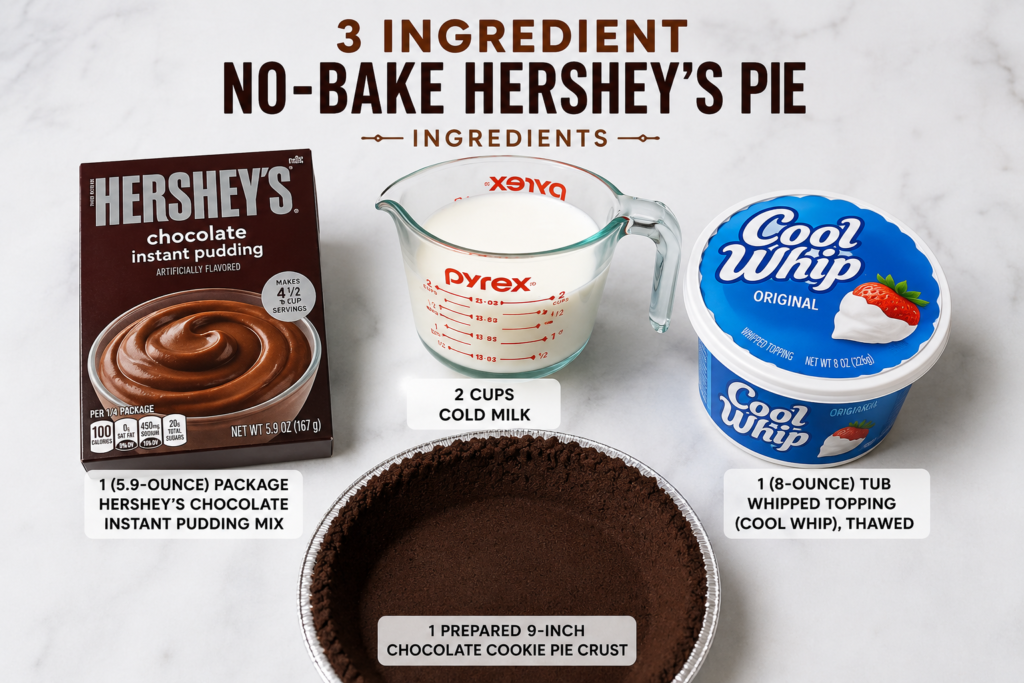
- 1 prepared chocolate cookie pie crust (9-inch)
- 1 (8-ounce) tub whipped topping, thawed
- 2 (4-ounce) Hershey’s Milk Chocolate Bars, melted and slightly cooled
How to Prepare 3 Ingredient No-Bake Hershey’s Pie
This recipe is incredibly simple. Follow these easy steps for perfect results every time.
Step 1: Melt the Chocolate
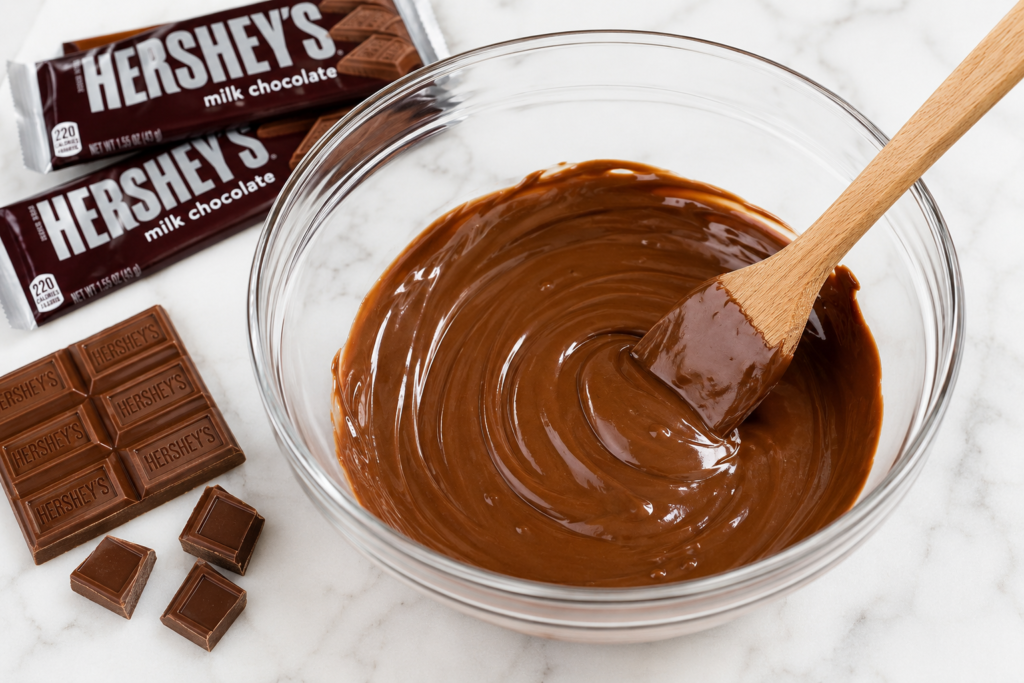
Break the Hershey’s chocolate bars into small pieces and place them in a microwave-safe bowl.
Microwave in 20-second intervals, stirring after each interval until the chocolate is completely melted and smooth. Let it cool for about 5 minutes so it is warm but not hot.
Step 2: Mix the Filling
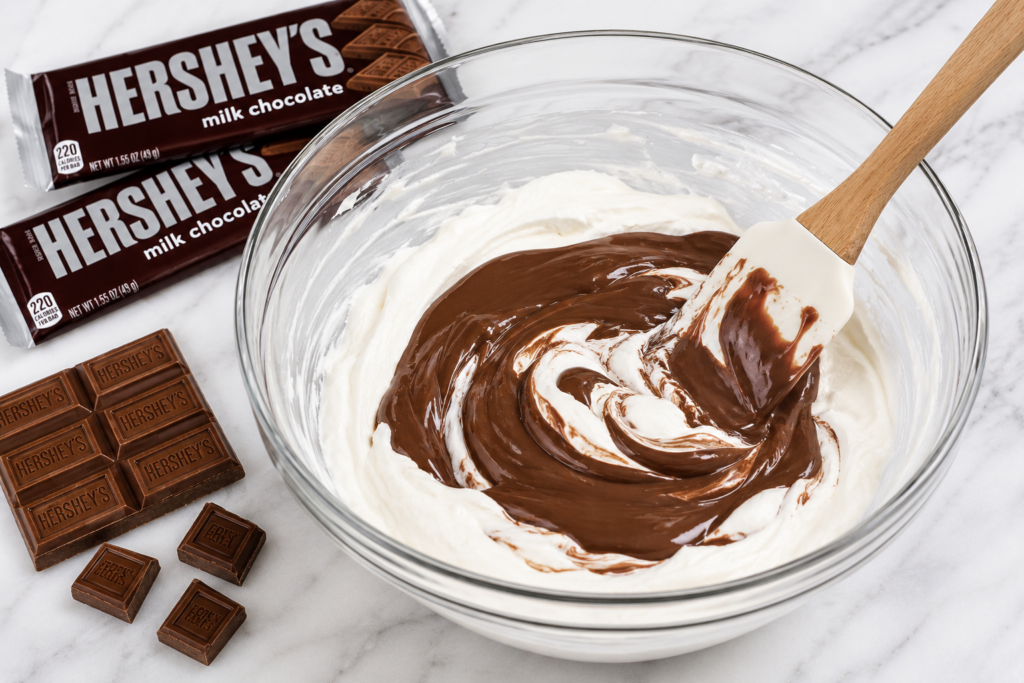
Place the thawed whipped topping into a large mixing bowl.
Pour the cooled melted chocolate over the whipped topping.
Using a rubber spatula, gently fold everything together until fully combined. Continue folding until the mixture becomes smooth, fluffy, and evenly chocolate-colored. Avoid overmixing so the filling stays light and airy.
Step 3: Fill the Pie Crust
Spoon the chocolate filling into the prepared chocolate cookie pie crust.
Spread it evenly using the back of a spoon or an offset spatula. Smooth the top for a beautiful finish.

Step 4: Chill the Pie
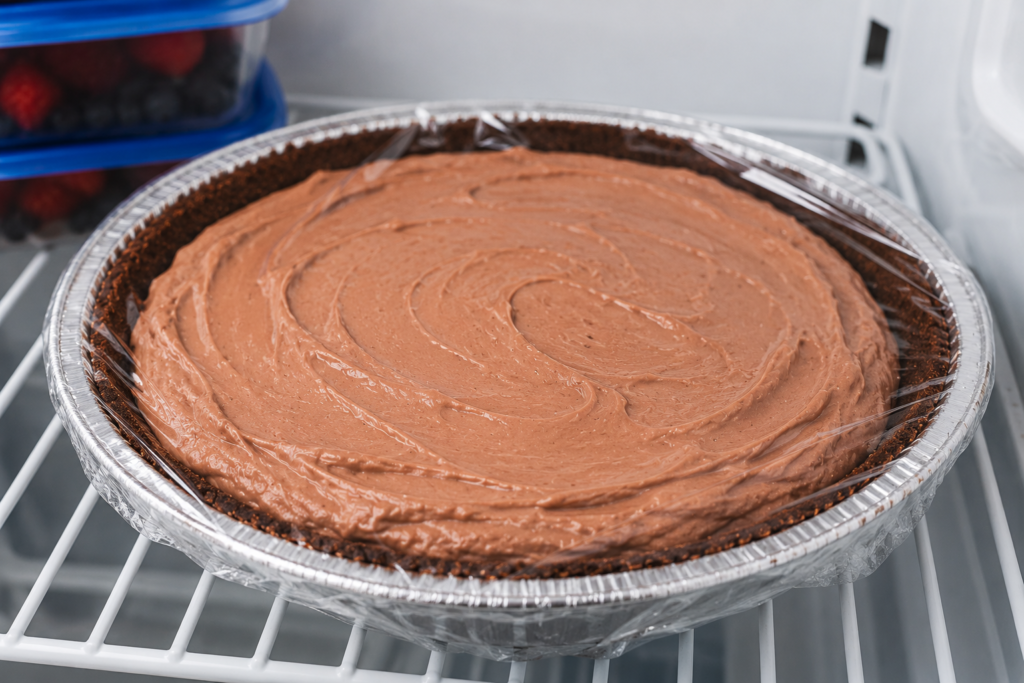
Cover the pie loosely with plastic wrap.
Refrigerate for at least 4 hours, or overnight for the best texture. The filling will firm up as it chills.
Step 5: Slice and Serve
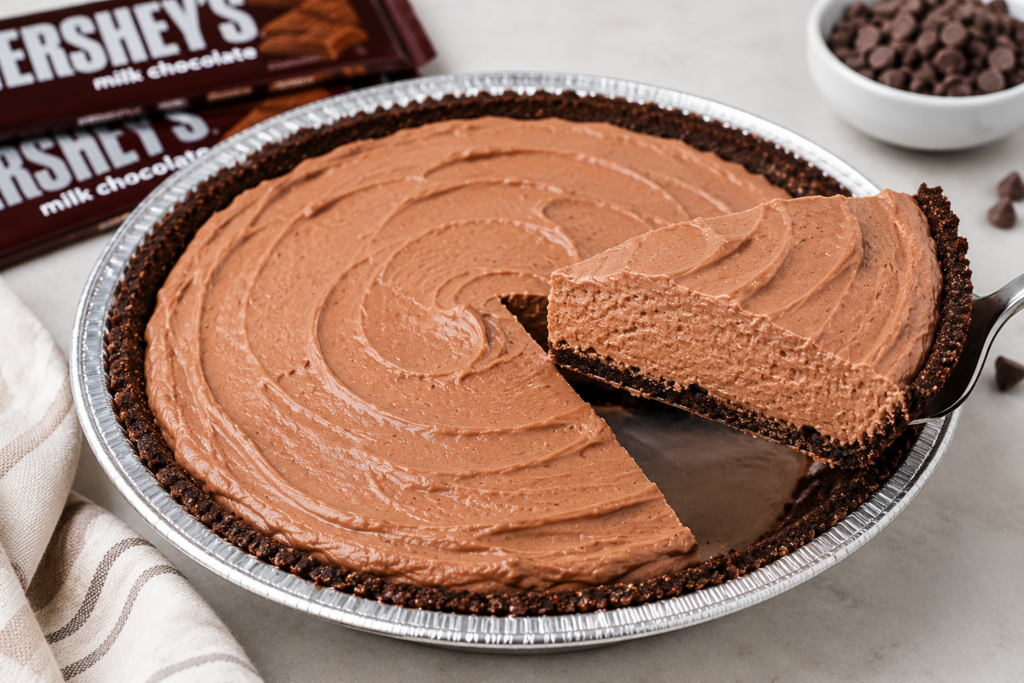
Once fully chilled, slice the pie with a sharp knife.
Serve cold and enjoy every creamy, chocolatey bite.
Optional Toppings
Although delicious as-is, you can dress it up with:
- Chocolate shavings
- Mini chocolate chips
- Extra whipped topping
- Chocolate syrup
- Crushed chocolate cookies
- Fresh strawberries
- Chopped peanuts
Tips for the Best Pie
- Allow the chocolate to cool slightly before mixing with the whipped topping.
- Fold gently to keep the filling fluffy.
- Chill for at least 4 hours before slicing.
- For cleaner slices, dip the knife in warm water and wipe it dry between cuts.
- Store the pie covered to keep it fresh.
Storage
Refrigerator: Store covered for up to 4 days.
Freezer: Freeze for up to 2 months. Thaw in the refrigerator for about 30 minutes before serving.
Final Thoughts
This 3 Ingredient No-Bake Hershey’s Pie proves that delicious desserts don’t have to be complicated. With just three everyday ingredients, you can create a rich, creamy chocolate pie that looks impressive and tastes amazing. Whether you’re making dessert for a celebration or simply treating yourself, this easy no-bake recipe is guaranteed to become a family favorite.
3 Ingredient No-Bake Hershey’s Pie
Ingredients
- 1 9-inch prepared chocolate cookie pie crust
- 2 4-ounce Hershey’s Milk Chocolate Bars
- 1 8-ounce tub frozen whipped topping, thawed
Instructions
- Break the Hershey's chocolate bars into pieces and melt them in a microwave-safe bowl using 20-second intervals, stirring until smooth. Let the chocolate cool for about 5 minutes.
- Place the thawed whipped topping into a large mixing bowl.
- Pour the cooled melted chocolate over the whipped topping and gently fold together until smooth, fluffy, and fully combined.
- Spoon the chocolate mixture into the prepared chocolate cookie crust and spread evenly with a spatula.
- Cover loosely with plastic wrap and refrigerate for at least 4 hours, or overnight, until firmly set.
- Slice and serve chilled. Garnish with whipped cream, chocolate shavings, or chocolate chips if desired.
Notes
- Allow the melted chocolate to cool slightly before mixing to prevent the whipped topping from melting.
- Fold gently instead of stirring vigorously to keep the filling light and airy.
- Refrigerating overnight creates the best texture.
- Use a warm knife for clean slices.
- Add chocolate curls or mini chocolate chips for a beautiful presentation.
Nutrition (Per Serving)
- Calories: 330 kcal
- Carbohydrates: 31 g
- Protein: 3 g
- Fat: 22 g
- Saturated Fat: 13 g
- Cholesterol: 10 mg
- Sodium: 180 mg
- Potassium: 150 mg
- Fiber: 2 g
- Sugar: 22 g
- Vitamin A: 2% DV
- Calcium: 4% DV
- Iron: 8% DV